header ad

Sunday, 6 April 2014

Kitchen Progress - Plasterboard & Undercoat Painting

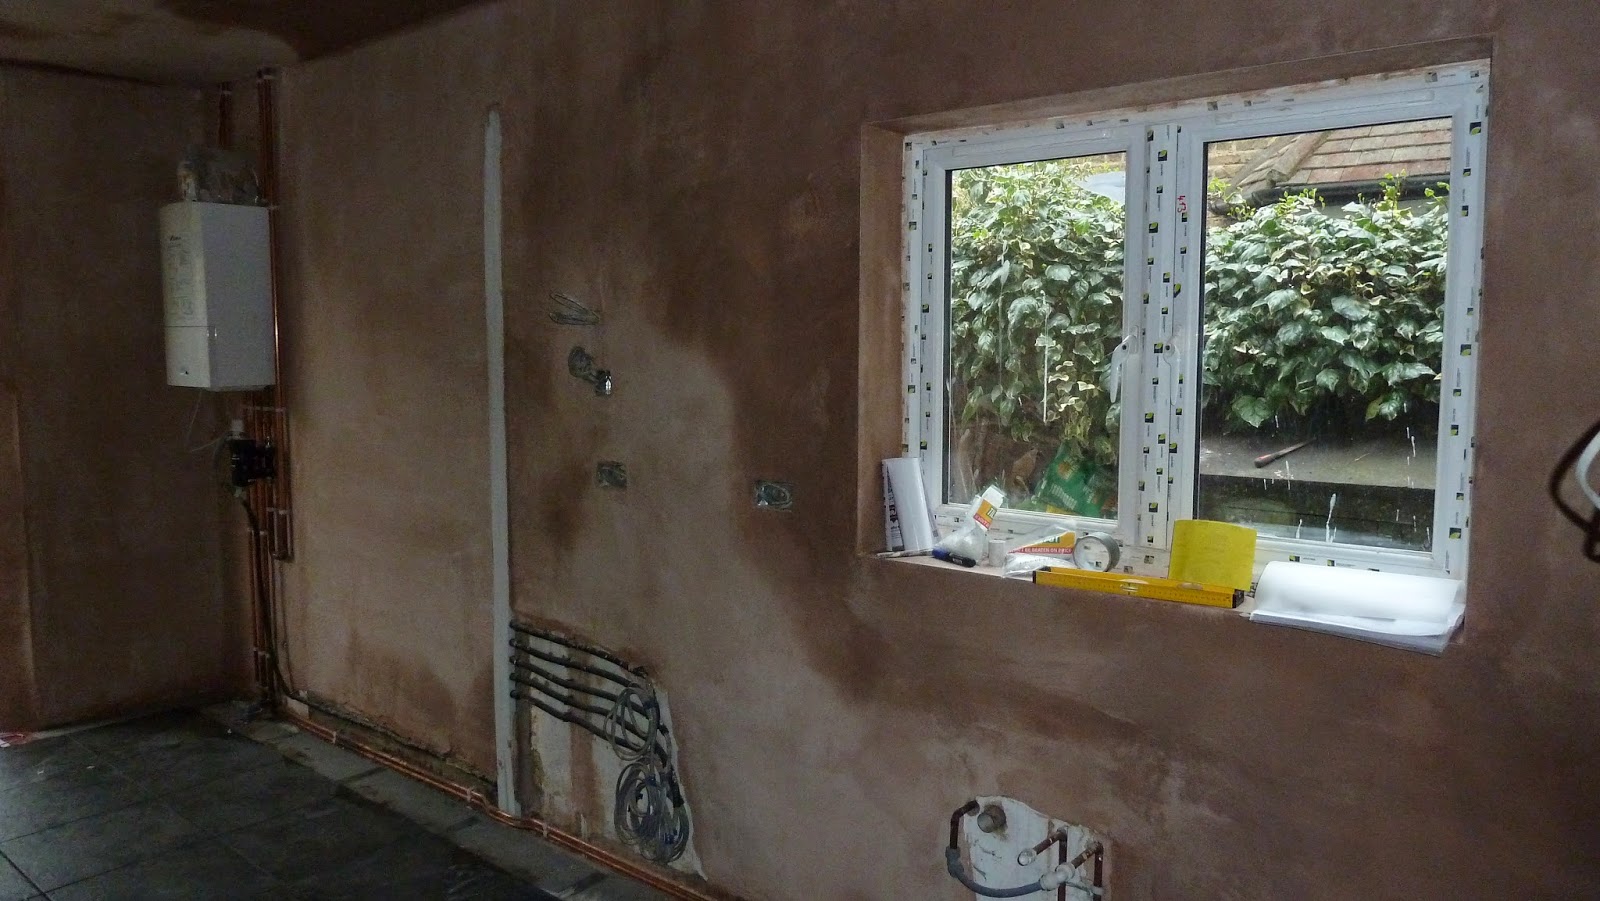
The walls & ceiling have been sanded & smoothed down, ready to be painted, however some of the areas of the plaster are still not dry.


The plaster board has been attached to the drop down ceiling.


The white undercoat painting has started today, ready for the kitchen units to be delivered tomorrow.


Kitchen Progress - Dropdown Ceiling & Extractor

This extractor has caused us the most problems.

Firstly receiving so many that were damaged, to now trying to work out how it should be installed.

The instructions that came with the Best Cirrus Britannia extractor are not detailed enough at all and have very limited information & diagrams.

The positioning of the extractor is really dictated by where your ceiling joists are located.

The motor connected to the top of the extractor can only be fitted between  the ceiling joists.

We are lucky that our induction hob (which sits directly underneath in the island) is not in the centre of the island, we were able to work with the extractor being moved approx 200mm to the left.

The extractor is designed to sit flush within the ceiling however the height of the extractor with it's motor makes this impossible.

The motor is 350mm, yet the height of most ceiling joists are only up to a maximum of 200mm so there is no way that this extractor could possibly sit flush in any ceiling.

A suspended, drop down ceiling had to be built to accommodate the height of the motor for a flush ceiling finish.

The legs on the extractor are adjustable in height but unless the legs fit between your ceiling joists these need to be cut, which ours did.

Below are the photos to show the extractor installed into the frame of the drop down suspended ceiling:


Kitchen Progress - Plastering, Underfloor Heating & Tiling

The self leveling compound is being laid below.

Self explanatory, this liquid is poured on and creates a level floor.

It needs to be left overnight and dries within approx 24 hours.


Once the self leveling compound was dry our builders laid the underfloor heating.

We purchased a brand called 'Comfort Zone' http://www.comfortzone.co/

After the underfloor heating was laid and secured, it was time for the tiles to be laid.

The tiles we selected are square approx 50cm x 50cm in a mottled grey colour.

Tiles were purchased from 'Home Tiles' http://www.home-tiles.co.uk/


The tiles have been grouted with a dark grey to match the colour of the tiles.


The walls & ceiling have been plastered and the frame for the drop down suspended ceiling that will hold the extractor has been built.


 The plaster is still drying, we're using an electric heater to try to speed up the process as the builders need to start painting in a couple of days.


 The tiles have now been polished and the kitchen is starting to resemble the beginnings of a room rather than the demolition site it's been for the last couple of months.


Kitchen Progress - Electrics

The electrician has chased the walls in preparation to install the cables for power points & switches. 


The side wall has been prepared for the plumber to come and install the new boiler.
The boiler is being relocated from the bedroom directly above the kitchen.
It's old, noisy and very inefficient so looking forward to the lower gas bills once the new boiler is installed.


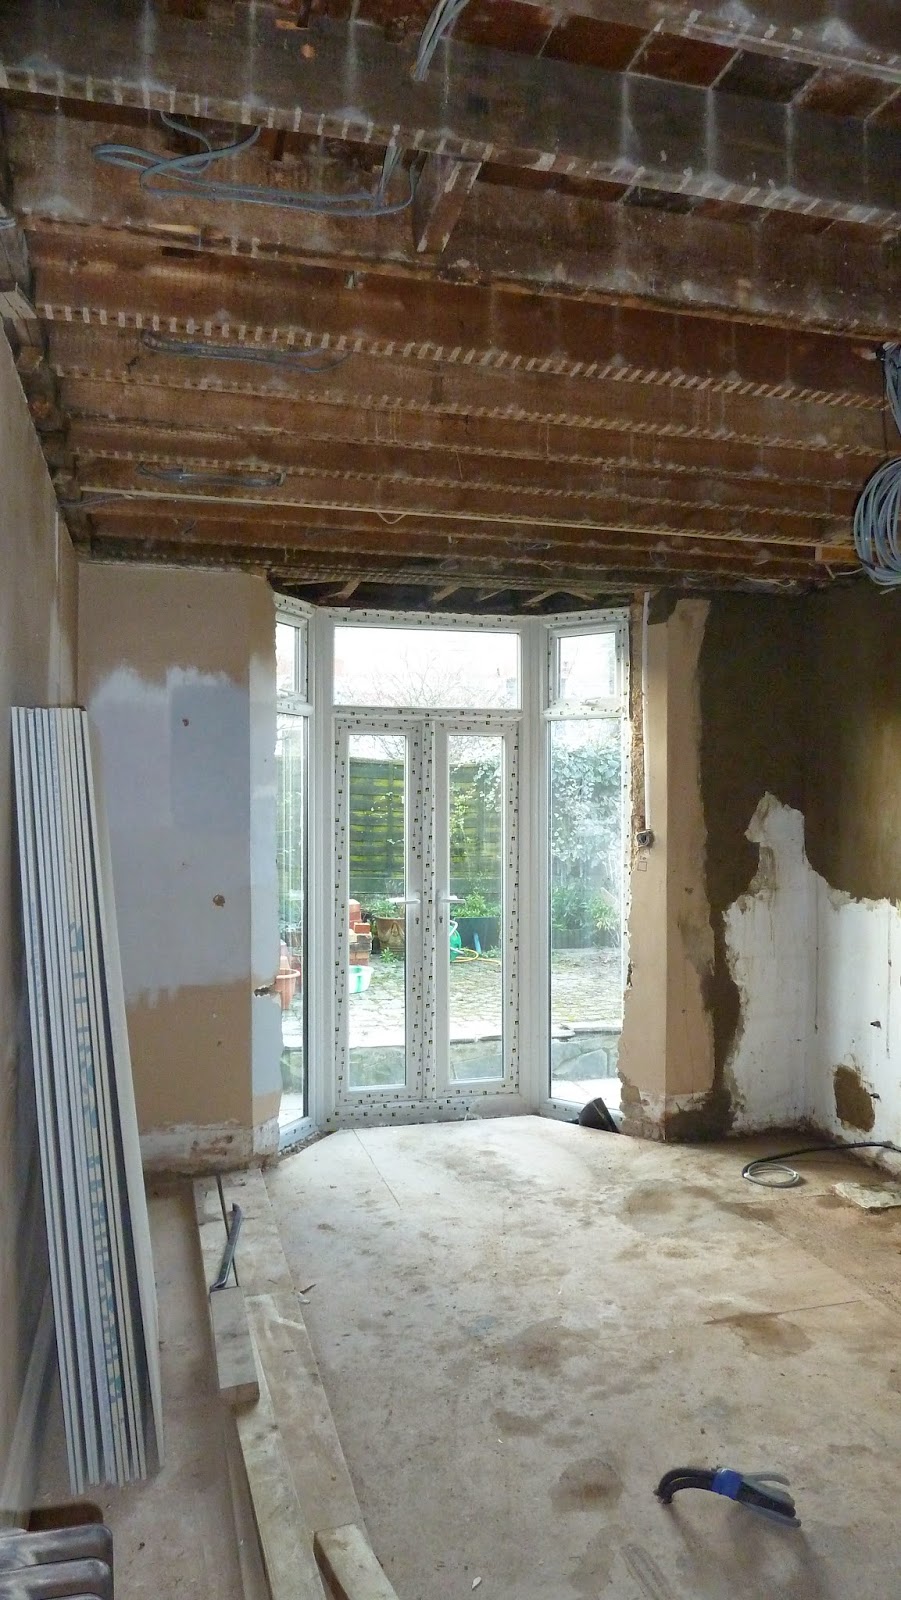
 The electrical cables have now been installed into the walls and also though the ceiling for all the new appliances & lighting to be installed.


 The new electrical cables have been installed from the kitchen through the hallway ceiling to the current fuse board.

The only way to install the cables, was to remove the hallway ceiling to access, hence the holes in the below images.


The holes will obviously be repaired by our builder once the kitchen is finished and all electrics are finished.


The Kitchen Demolition - Weeks 1-2

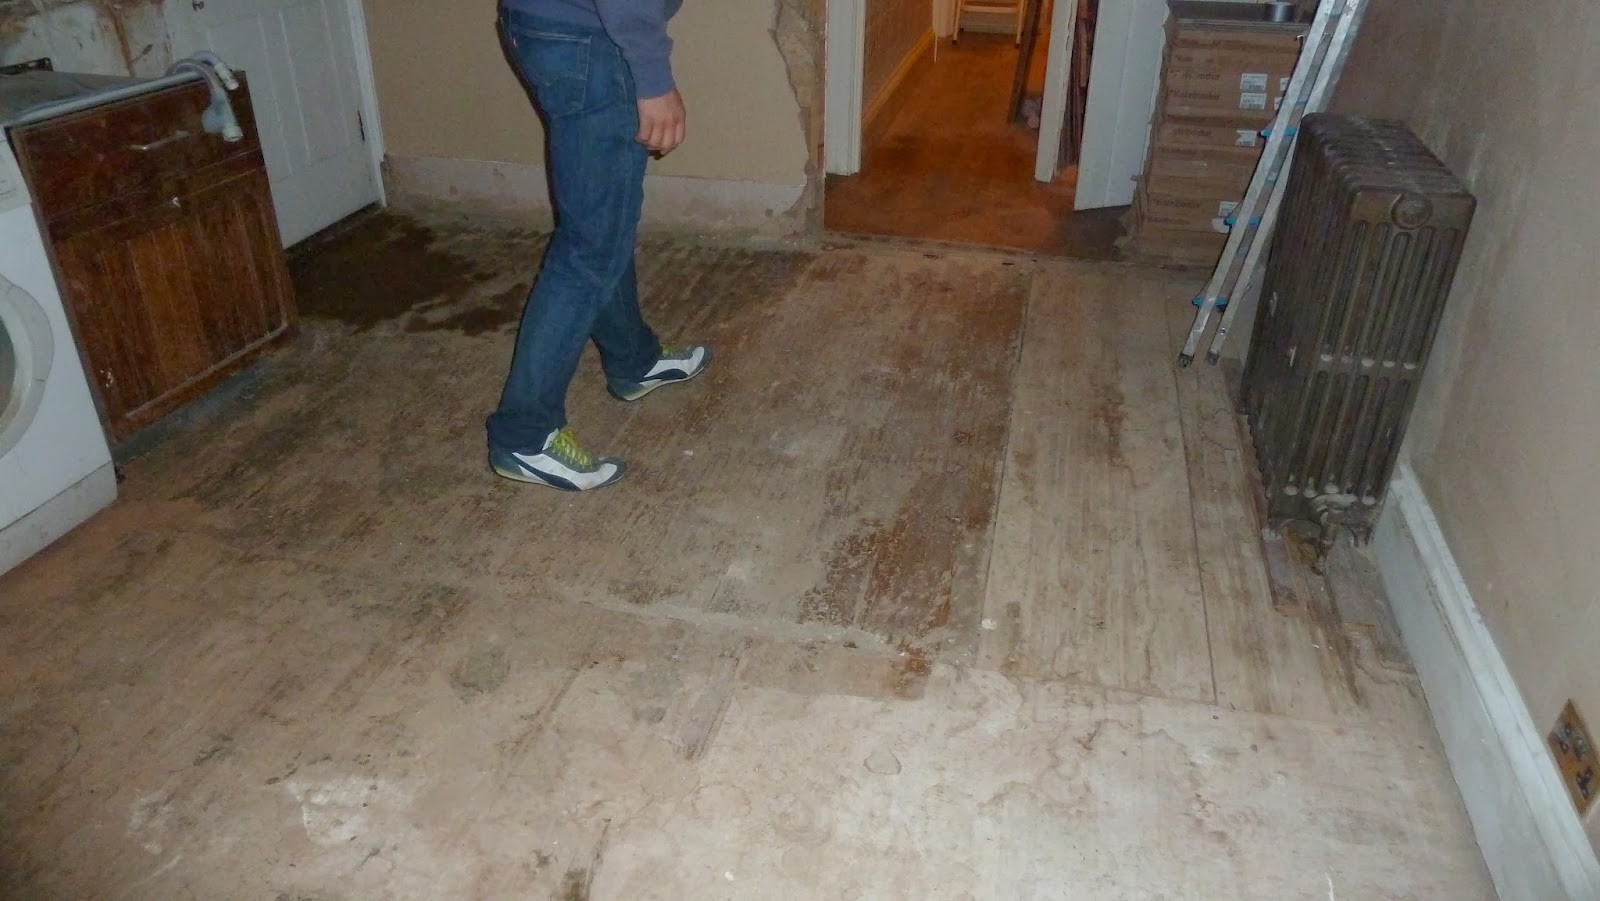
The kitchen has been completely stripped.

Cupboards, ceiling and flooring has been removed and electrics & water have been disconnected.

Here are the photos of the progress:


This is the pipe from the bathroom (that sits between the joists in the kitchen ceiling) that will need to be removed and replaced as it is currently leaking.


The electrician needs to completely re-wire the kitchen and install a new fuse board to be able to cope with the capacity of all the new appliances, down-lights and LED strip lighting that will be installed into the kitchen.