header ad

Showing posts with label #plastering. Show all posts

Sunday, 6 April 2014

Kitchen Progress - Dropdown Ceiling & Extractor

This extractor has caused us the most problems.

Firstly receiving so many that were damaged, to now trying to work out how it should be installed.

The instructions that came with the Best Cirrus Britannia extractor are not detailed enough at all and have very limited information & diagrams.

The positioning of the extractor is really dictated by where your ceiling joists are located.

The motor connected to the top of the extractor can only be fitted between  the ceiling joists.

We are lucky that our induction hob (which sits directly underneath in the island) is not in the centre of the island, we were able to work with the extractor being moved approx 200mm to the left.

The extractor is designed to sit flush within the ceiling however the height of the extractor with it's motor makes this impossible.

The motor is 350mm, yet the height of most ceiling joists are only up to a maximum of 200mm so there is no way that this extractor could possibly sit flush in any ceiling.

A suspended, drop down ceiling had to be built to accommodate the height of the motor for a flush ceiling finish.

The legs on the extractor are adjustable in height but unless the legs fit between your ceiling joists these need to be cut, which ours did.

Below are the photos to show the extractor installed into the frame of the drop down suspended ceiling:


Kitchen Progress - Plastering, Underfloor Heating & Tiling

The self leveling compound is being laid below.

Self explanatory, this liquid is poured on and creates a level floor.

It needs to be left overnight and dries within approx 24 hours.


Once the self leveling compound was dry our builders laid the underfloor heating.

We purchased a brand called 'Comfort Zone' http://www.comfortzone.co/

After the underfloor heating was laid and secured, it was time for the tiles to be laid.

The tiles we selected are square approx 50cm x 50cm in a mottled grey colour.

Tiles were purchased from 'Home Tiles' http://www.home-tiles.co.uk/


The tiles have been grouted with a dark grey to match the colour of the tiles.


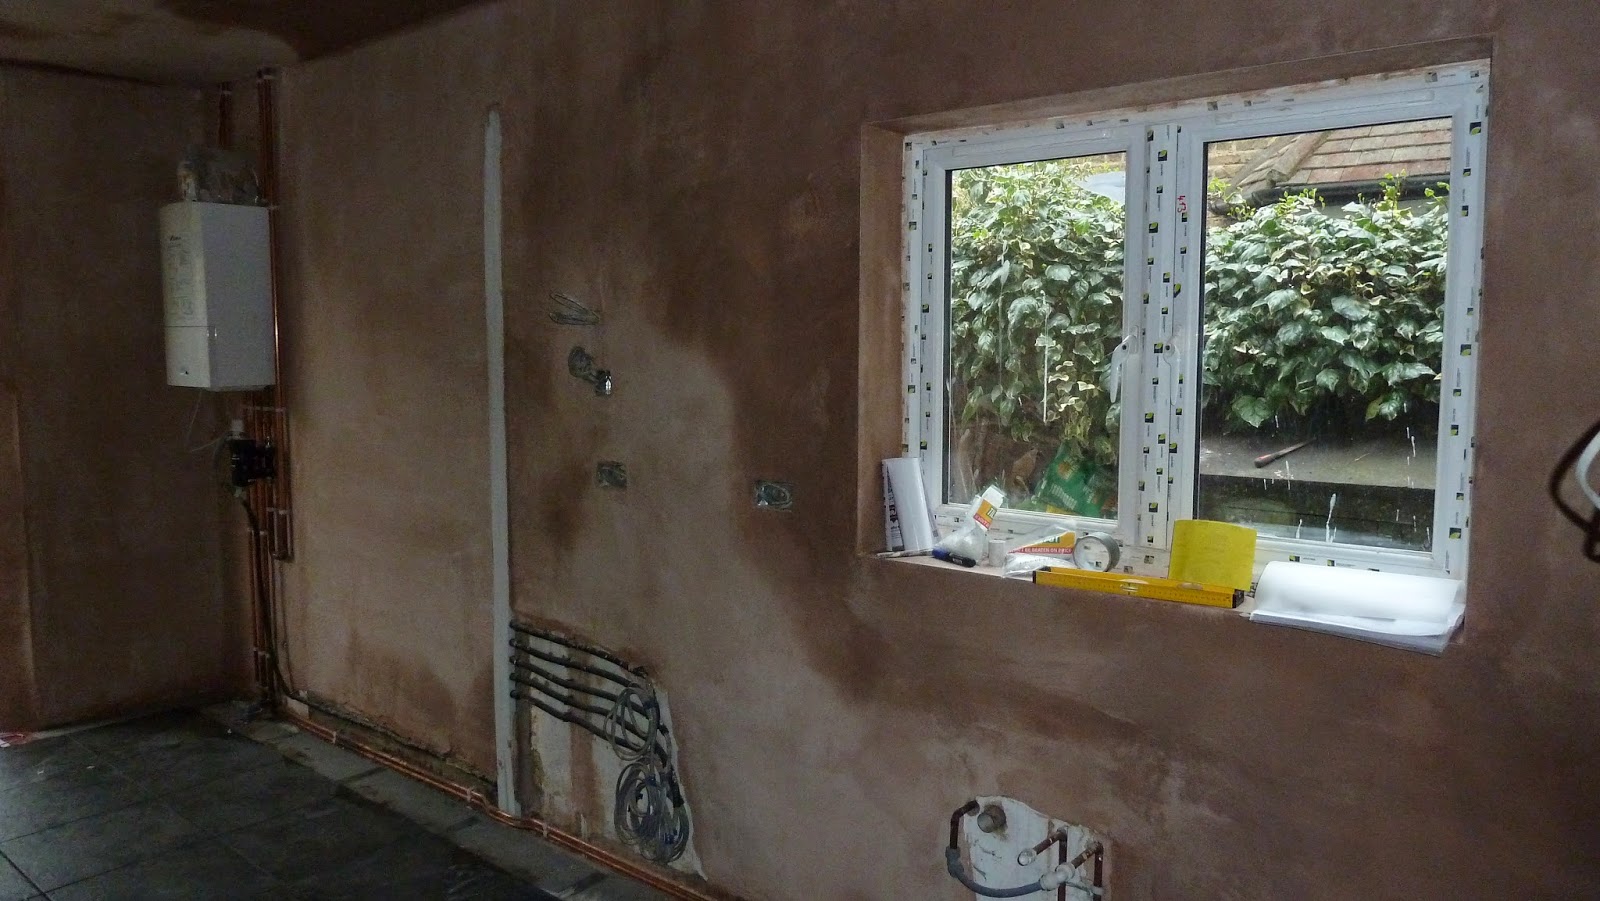
The walls & ceiling have been plastered and the frame for the drop down suspended ceiling that will hold the extractor has been built.


 The plaster is still drying, we're using an electric heater to try to speed up the process as the builders need to start painting in a couple of days.


 The tiles have now been polished and the kitchen is starting to resemble the beginnings of a room rather than the demolition site it's been for the last couple of months.


The Kitchen Demolition - Weeks 1-2

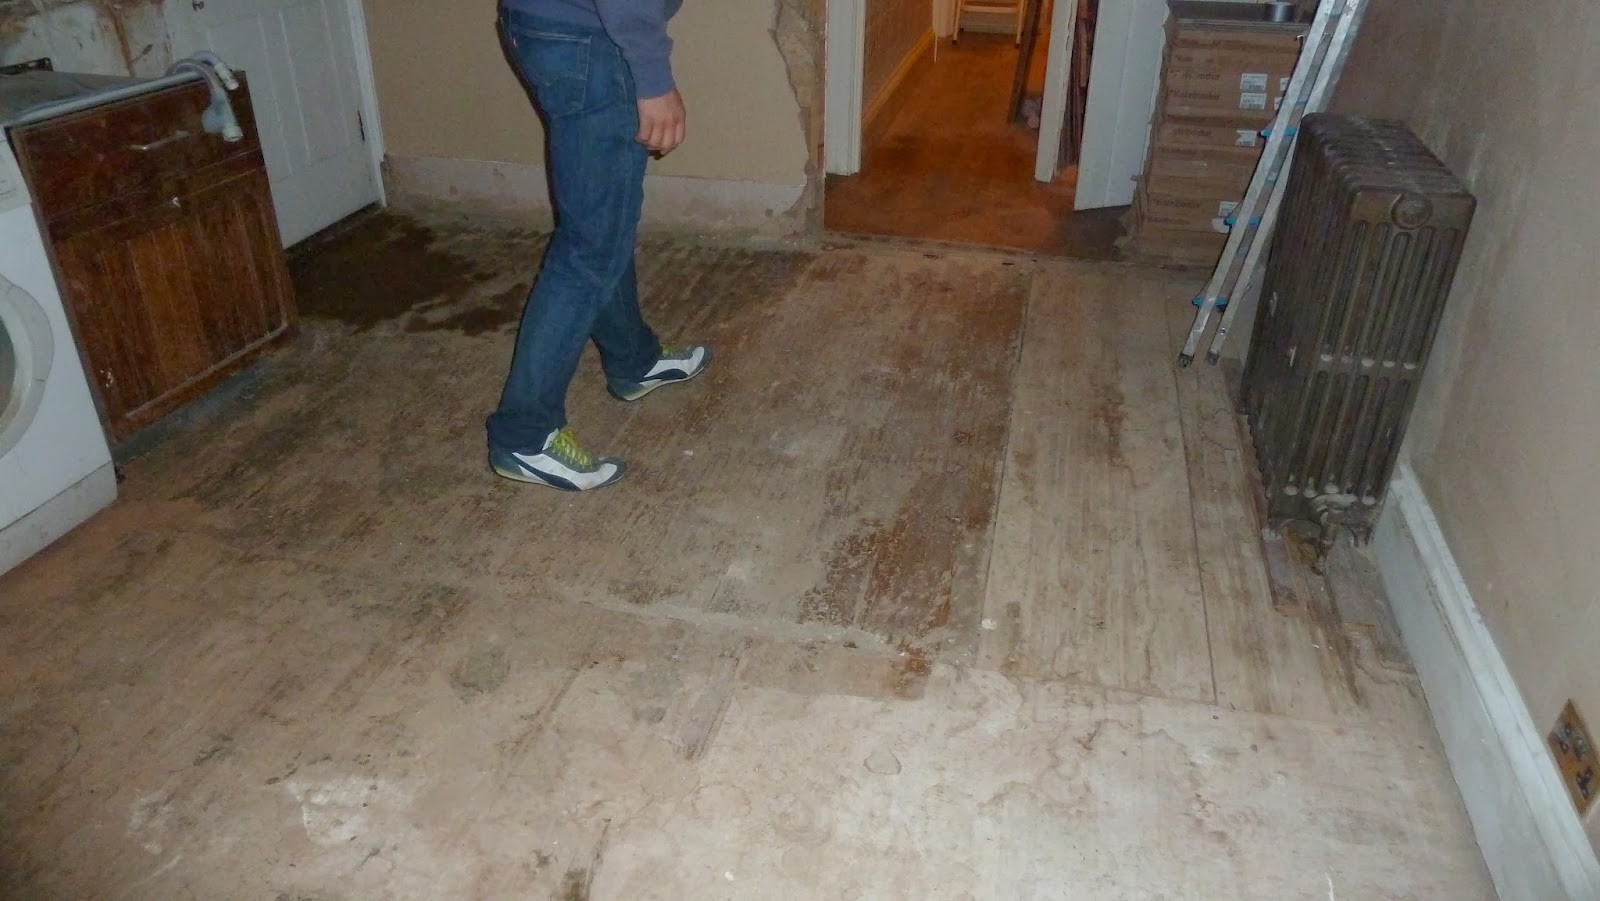
The kitchen has been completely stripped.

Cupboards, ceiling and flooring has been removed and electrics & water have been disconnected.

Here are the photos of the progress:


This is the pipe from the bathroom (that sits between the joists in the kitchen ceiling) that will need to be removed and replaced as it is currently leaking.


The electrician needs to completely re-wire the kitchen and install a new fuse board to be able to cope with the capacity of all the new appliances, down-lights and LED strip lighting that will be installed into the kitchen.


Saturday, 1 February 2014

Planning the kitchen renovation...

The first room in our house that needs major attention is the kitchen.


It looks ok in the estate agent's photo (above) but they somehow manage to make the worst rooms look respectable with their wide angle photos.

The kitchen is much darker in reality.

The main issue is (besides it being quite old & dated) is the lack of cupboard space.

The brown cupboards you see in the below photo are taken up with appliances - dishwasher & washing machine.

The white pantry next to the hob (below photo) has shelves that are about to come away from the wall, it's not sturdy enough to utilise. 


All other free standing units you can see in the photos belong to the previous owner, which have now been removed.


Resulting in no cupboards!!

The kitchen is 5m x 3.3m, excellent size, we have a great space to work with.

We plan to totally renovate and put in a new kitchen.

The ideas we have so far are:


  • remove the brick chimney
  • the current back door to be bricked up & replaced with a new UPVC window
  • replace the bay window with a new UPVC bay window with central double doors leading onto the garden
  • Remove the wall between the hallway & kitchen 
  • New flooring
  • Underfloor heating
  • New L shape kitchen with central island
In the below image you can see the current back door.
We intend to move this so we can have an 'L' shape kitchen to utilise the space better.


We will still keep a window here above the worktop (as we need as much light in the kitchen as we can get).

Our builders will brick up the bottom half of the door area and a new UPVC double glazed window will be fitted.

The new window will have a slight change to the size, it will be brought in approx 400mm from the end wall, this will enable us to put kitchen wall units on the end wall.


The new back door will be at the far end of the kitchen where there is currently a bay window.


This is the bay window that will be changed into double doors & 2 side windows.

We will keep the shape of the bay window but replace it with a UPVC double glazed floor to ceiling bay with 2 narrow centre doors opening outward to the garden (similar to below photos)


Idea for new Bay Window / Door

The bricks that will be removed from below the current bay window will be re-used to brick up the bottom half of the existing back door.
Therefore the exterior of the house will remain the same colour.

The wall between the hallway & the kitchen will be removed (highlighted in red below)


The reason for removing this wall is because as you can see from the below floor plan, the current entrance (being the RED LINE) requires you walk around tight corners to enter.

If we remove this wall we will have direct access into the kitchen from the hallway (see GREEN LINE as proposed new entrance). 

We will then extend the 'under stairs cupboard space' right up to the kitchen.
The space will then be used for a washing machine & dyer stacked on top.
I will be able to access these appliances directly from the kitchen.
A new door will be made to hide these appliances.

To gain access to the rest of the space under the stairs, doors will be cut out & open directly from the hallway.

This is the plan, lets see how it goes!!...